timeline-view-tk
A timeline viewer programmed with Python, using tkinter
Home > Timeline viewer help > Preparations
Preparations
Setting up the program
The actual installation of the timeline viewer is simple and straightforward. The installation program automatically creates an installation directory, copies everything necessary into it, and generates a start file named run.pyw adapted for the respective computer, which must be called in order to start the application.
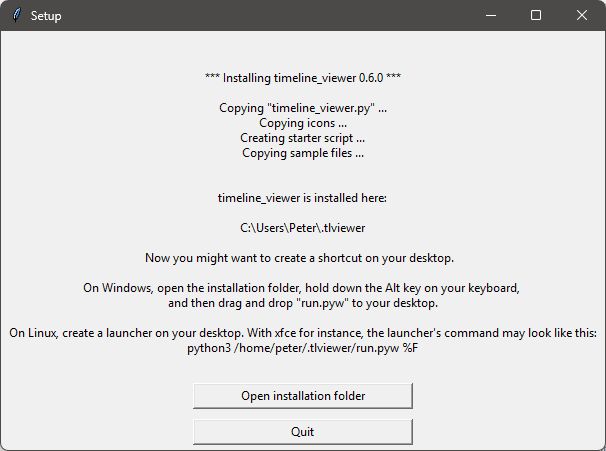
The necessary manual work consists of linking this start file to the desktop and, if desired, assigning a program icon to the link.
For this, you can open the installation directory via a button in the setup script’s messaging window.
Hint
- Under Windows, the installation directory is
.tlviewerin you user profile, e.g.C:\Users\username\.tlviewer. - Under Linux, the installation directory is
~/.tlviewer.
Creating a desktop shortcut
-
Under Windows, you can drag and drop the run.pyw icon onto the Windows desktop while holding down the
Altkey.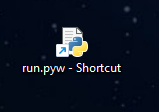
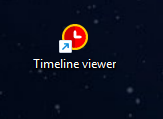
- Optionally, you can open the shortcut’s properties via right-click, and change the icon. For this you can select the tlv64.ico file in the icons folder in the installation directory.
-
Then you can rename the shortcut.
-
Under Linux, you might want to create a program launcher. Please refer to the documentation of your desktop.
With the XFCE desktop, for example, my launcher command is:
python3 /home/peter/.tlviewer/run.pyw %F